
BUILT RIGHT Workbenches
Thanks to their durable construction and heavy-duty steel frames, these benches can handle loads of up to 1,600 lbs. of evenly distributed weight. They will withstand the wear and tear of frequent use, and provide you with years of service. BUILT RIGHT workbenches are fully customizable, with a 25-year warranty at an industry-best price.
Customize your workbench with the work surface and frame color of your choice, as well as an adjustable height of 30" - 36". From lights to monitor brackets, parts bins, power strips, and more, configure a complete workstation that works for you!
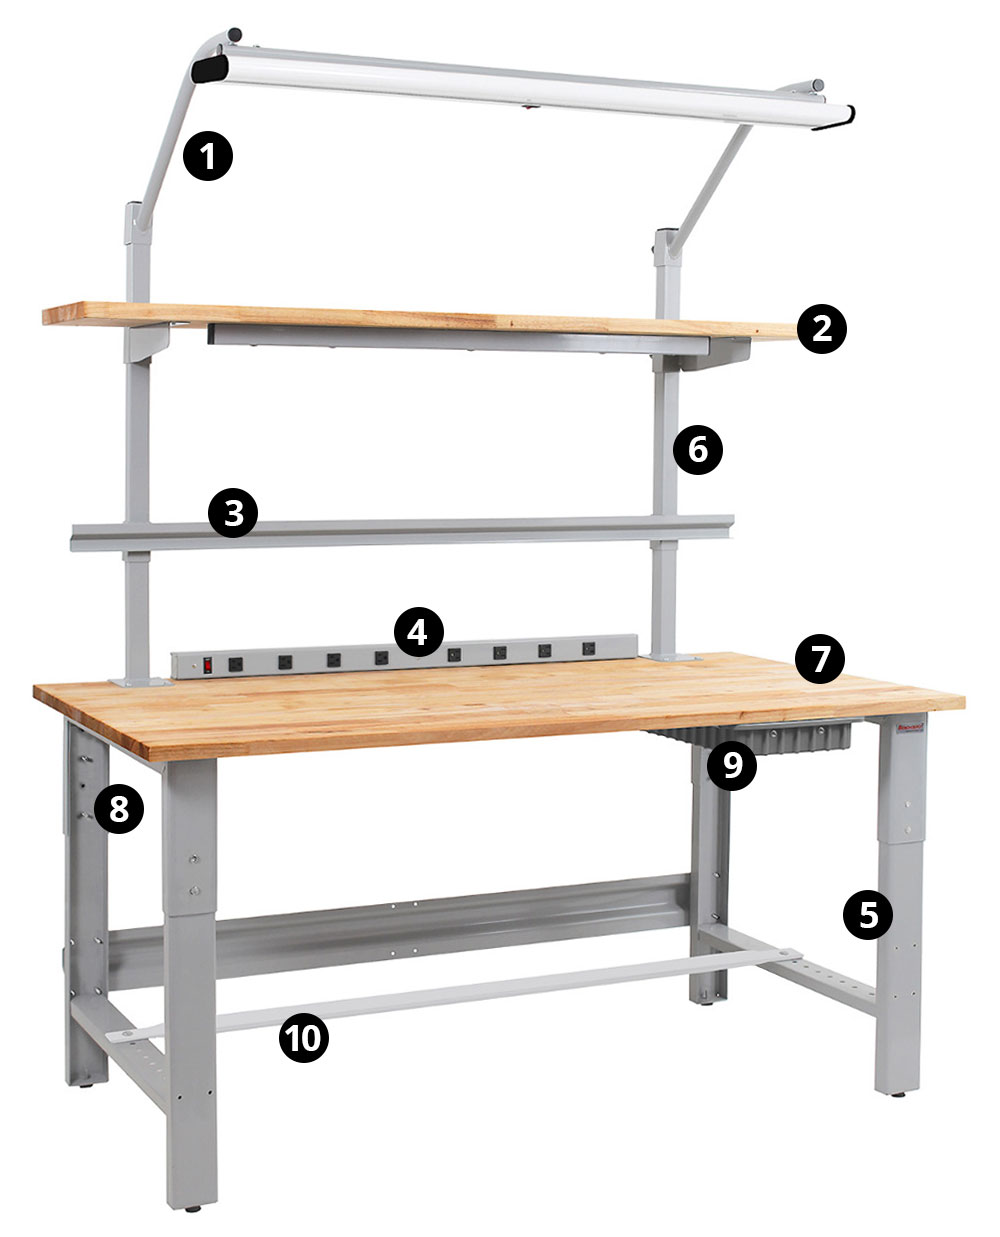
Image shown with these available options:
- Earthquake-safe light and bracket mounts
- Standard adjustable top shelf
- Adjustable bin box rail
- UL listed power strips available in many lengths & designs
- Heavy-duty steel legs
- 250 lb. capacity upright sets
- 1.25" thick solid core steel reinforced top
- Adjustable work surface from 30" to 36"
- Drawers with full extension chrome plated ball bearing slides
- Adjustable footrest
Additional accessories are also available. See below for workbench assembly instructions.
*Benches over 72" long are built with a third support leg in the middle for required support.
Shop Online by Work Surface
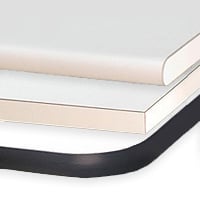
Formica™
Formica™ is the heaviest grade laminate available today and used in all standard applications.

ESD Laminate
ESD Laminate is used for applications where delicate electronics could be damaged by static charge.
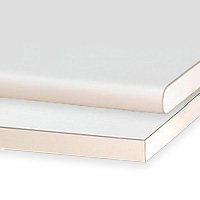
Cleanroom Laminate
Cleanroom Laminate is sealed on all sides, and is rated for Class 100 (ISO Class 5) environments.
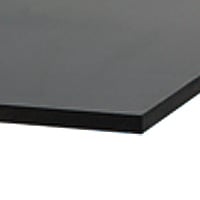
Phenolic Resin
Phenolic Resin is durable nonporous, making it moisture and chemical resistant and easy to clean.
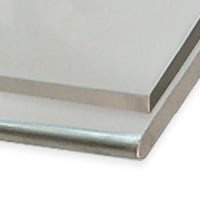
Stainless Steel
These worksurfaces have a particle board core wrapped in 18-gauge, type 304 stainless steel.

Butcher Block
Butcher Block worksurfaces are recommended where heavy use requires a durable material.
Workbench Assembly Instructions
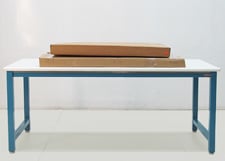
1. Place the bench box on top of a table or other elevated surface to make work easier. Now open the flaps on the box, fold them down, but do not remove the box.
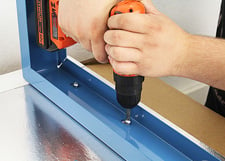
2. Find the pre-drilled holes at each end of the top which match the hole pattern in the upper frame. Insert screws in every hole.
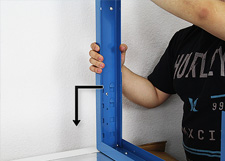
3. Slide the adjustable leg set into the upper bracket until it is in position to give you the desired height. Attach with fasteners provided. Tighten securely.

4. Insert leveling glides.

5. Have someone help you turn it over.
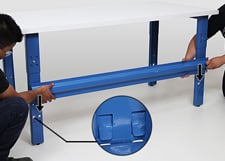
6. Line-up and install leg reinforcing bar across the back legs. Attach with fasteners provided. Tighten securely.
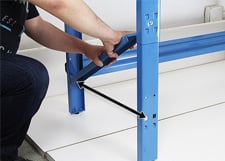
7. Slide leg reinforcing bars into position. You're done!
